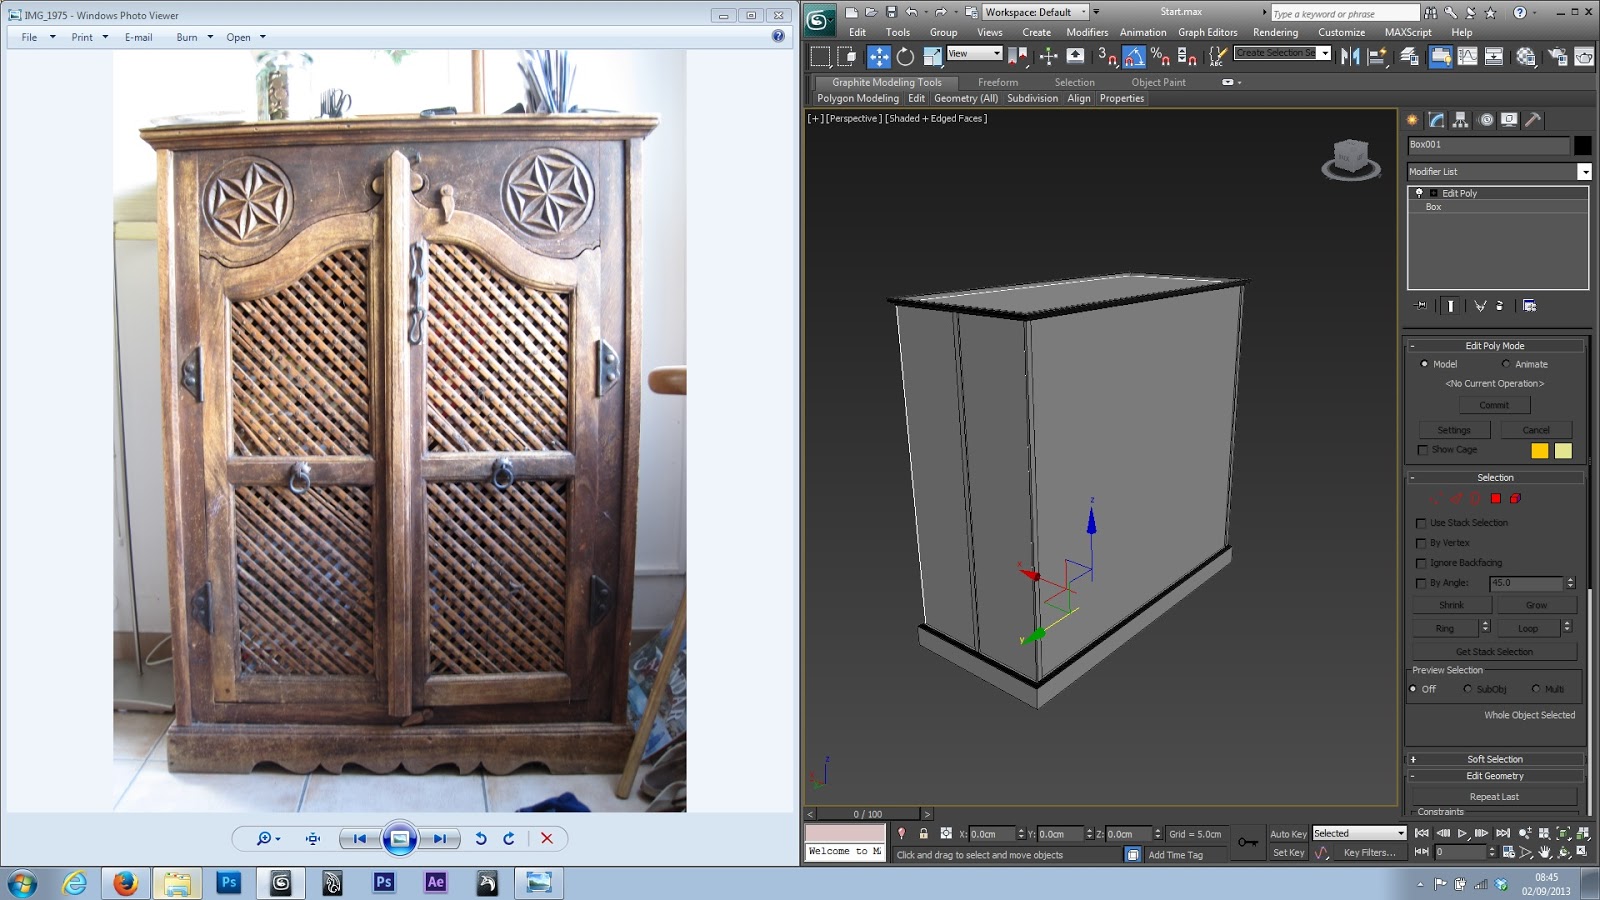
I just started by getting the scale and getting the basic shape right. Fortunately, it is basically just a box so this took the best part of 20 seconds.
Note that to begin with, I only had one monitor while working on this so I was a bit tight in terms of screen space.

Getting some of the relief patterns. Just a simple spline combined with a bevel profile to create the relief around the entire shape.

I now have 2 monitors! As you can see I was modelling the chain and the details around the doors. I also made the hinges work so the next bit will be modelling the mesh thing on the front of the doors.


Creating the mesh itself was very simple and took almost no time at all. The planks which made up the mesh were not completely flat so I made sure to give them a slight surface curvature using soft selection and dragging out.

This is the first test render and I think it is coming along quite nicely. Obviously I still have more details to add but I realised I didn't have any renders or pictures of what the model looked like as a whole so I made this specifically for that reason.

This design was not the easiest to make due to the triangles present in the actual shape. On the left image you can see the way I developed the design bit by bit. I was actually copying the shape as I went along in case I messed up and wanted to go back. This would save me time as opposed to either using edit hold or saving each stage of the shape development as a different file. I am relatively happy with the end result although there are some very minor issues which are actually not noticeable even in a closer shot.

Added a few extra details to the star thing and then added the actual circle around it. Oh and I also cut out the hole using ProBoolean to fit the shape in. I am fully aware of the huge drawbacks of using things like boolean and procutter but I'm not going to be smoothing that particular part and it is not going to deform so as long as that's the case then no need to worry too much about strange topology.

Looking much better now. I actually resized the whole thing because it was off and remade the mesh so that it is identical on all parts of both doors. Both doors are now rigged and open/close normally using a helper object. Just need to clean up a few very minor things, make sure everything is good for texturing, and start unwrapping!

Here is a first glance at the beginning of the teturing process:

I actually made four variations of this texture, however it still seems very repetitive due to one thing that I failed to change (making it seem like it's the same pattern). This will be changed later on and updated on here.

I am much happier with this texture compared to the little triangle designs' texture. It looks much more natural and the size of the wood grain is perfect. This makes the individual triangle designs stand out as the texture might be a little bit high res and also the colour is a bit off. As I said, this will be changed later on once I can see it in context with everything else.

I am quite pleased with hos this has come out although I am a little unsure about the contact point between the big and small rings. I did not get a chance to take any close up photos of this for reference but I think I am heading in the right direction.

Here is another update to the cupboard. I have finished texturing the mesh of the door now and I have been working on the last few details. In the image above I have just done a quick test render to see if the mesh looks ok.

Above is the latest test render of the entire thing. It is looking pretty good although I have quite a few more adjustments to make. The two pattern circles are grey at the moment as I will be retexturing them. I'm also very unhappy with how the mesh has come out so that is something that I will have to go back to and refine.

Above is the finished render of the cupboard! I will begin matchmoving the video footage I have in order to start compositing this cupboard and show off my VFX skills!
No comments:
Post a Comment